
My wife returned home from a long workday only to find me immersed in a messy pile of popcorn ceiling plaster that resembled gloppy oatmeal, with our furniture scattered all around. Surprisingly, she wasn’t upset, and it ended up being a straightforward DIY task!
((Alert: If your popcorn ceiling was installed before 1978, it MUST BE TESTED for asbestos and other chemicals typically found in this product during the 60’s/70’s. Breathing in these fibers can be harmful. If your ceiling contains asbestos, it’s advisable to hire a professional for its removal. Some localities have regulations that prevent homeowners from removing it themselves due to safety concerns.))
Popcorn ceilings used to be a big trend, often used to conceal ceiling imperfections, allegedly dampen noise, or lend a “cozy” look to an otherwise stark room. Regardless of the reason, I strongly feel they don’t belong in a contemporary home and should be removed at once!
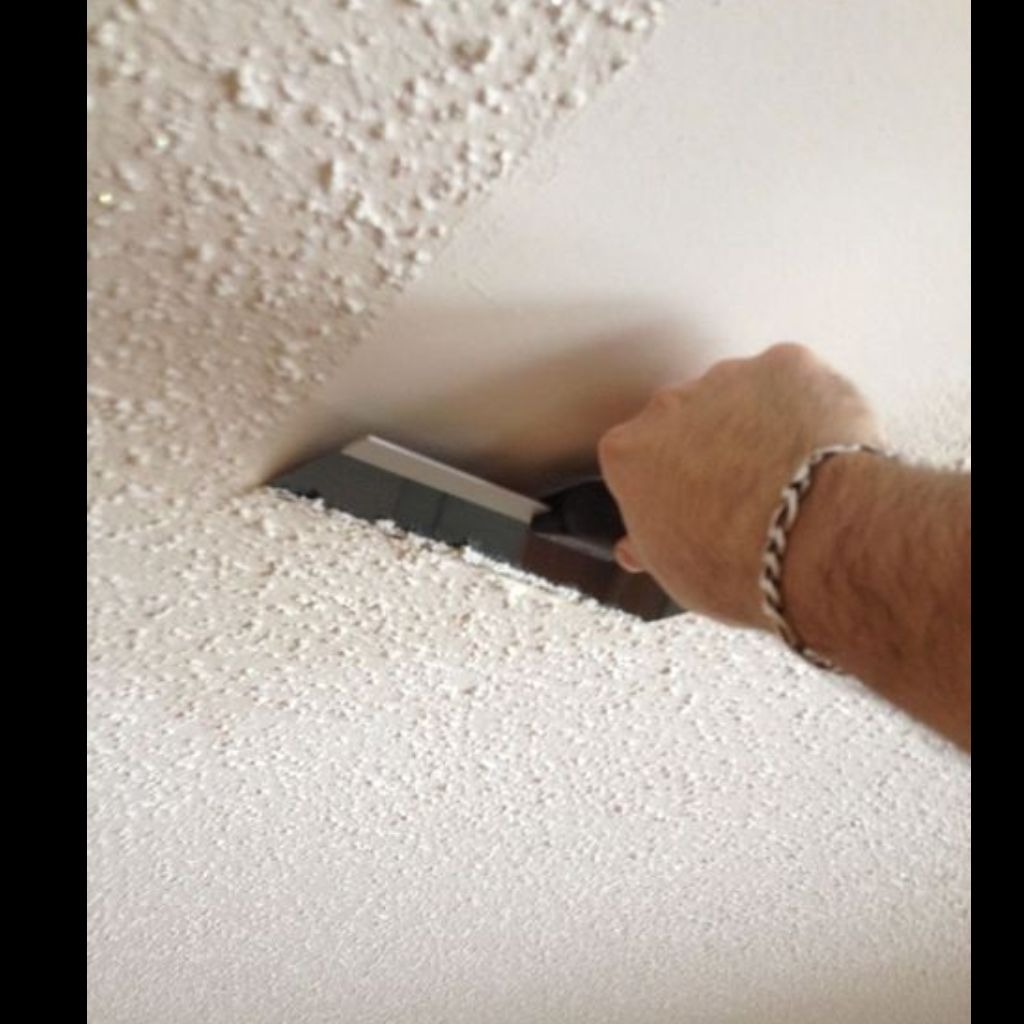
Our ceiling, sprayed on around 2001, was relatively easy to remove, and it helped that the drywall underneath was already primed in white. In several cases, you might encounter issues like cracked Sheetrock, failing joint compound, or loosening edging tape. If you notice any cracks, a good solution is to dampen some joint tape, apply it to the crack, and then smooth compound over it. This is the next best solution to putting in new drywall!
Please Head On keep on Reading (>)

