
Here’s a list of supplies you might need (a good number of these items could already be part of your toolkit, which helps reduce costs):
Transparent Tarps ($10)
Duct Tape ($5)
Blue Painter’s Tape ($5)
Handheld Pump Sprayer ($15)
Bucket, Sponge, and Soap ($15)
10-inch Scraper ($7)
Silicone Caulk – ($4)
Step Stool ($25?)
Paint Pole, Roller, and Roller Covers ($15)
Ceiling Paint ($15 / gallon)
Spackle / Joint Compound ($5)
Sandpaper ($5)
Face Mask / Respirator ($15)
Joint Tape ($3)
Guidelines:
Empty the room of all movable objects. You can leave heavy furniture like couches or TV stands in place, but smaller items like lamps should be moved. It’s easier to reach all parts of the room without obstructions.
Cover the entire room with tarps. Use duct tape to seal all tarp seams, and painter’s tape to protect the walls up to a foot above the floor. Ensure all electrical outlets and air registers are covered to create a collection zone for falling plaster. Some people prefer to cover the entire wall with tarps, but if you’re careful, clean-up is quite easy. The tiniest gap between tarps can lead to a room full of plaster dust.
Use the water sprayer to dampen a 5×5 foot area. You could spray the entire room, but remember, this stuff absorbs an enormous amount of water. The right amount of wetness is when your scraper easily slides through the popcorn texture without leaving the Sheetrock excessively damp. Use paper towels to dry overly wet Sheetrock. Use a mask and eye protection during this process – this material can taste like glue.
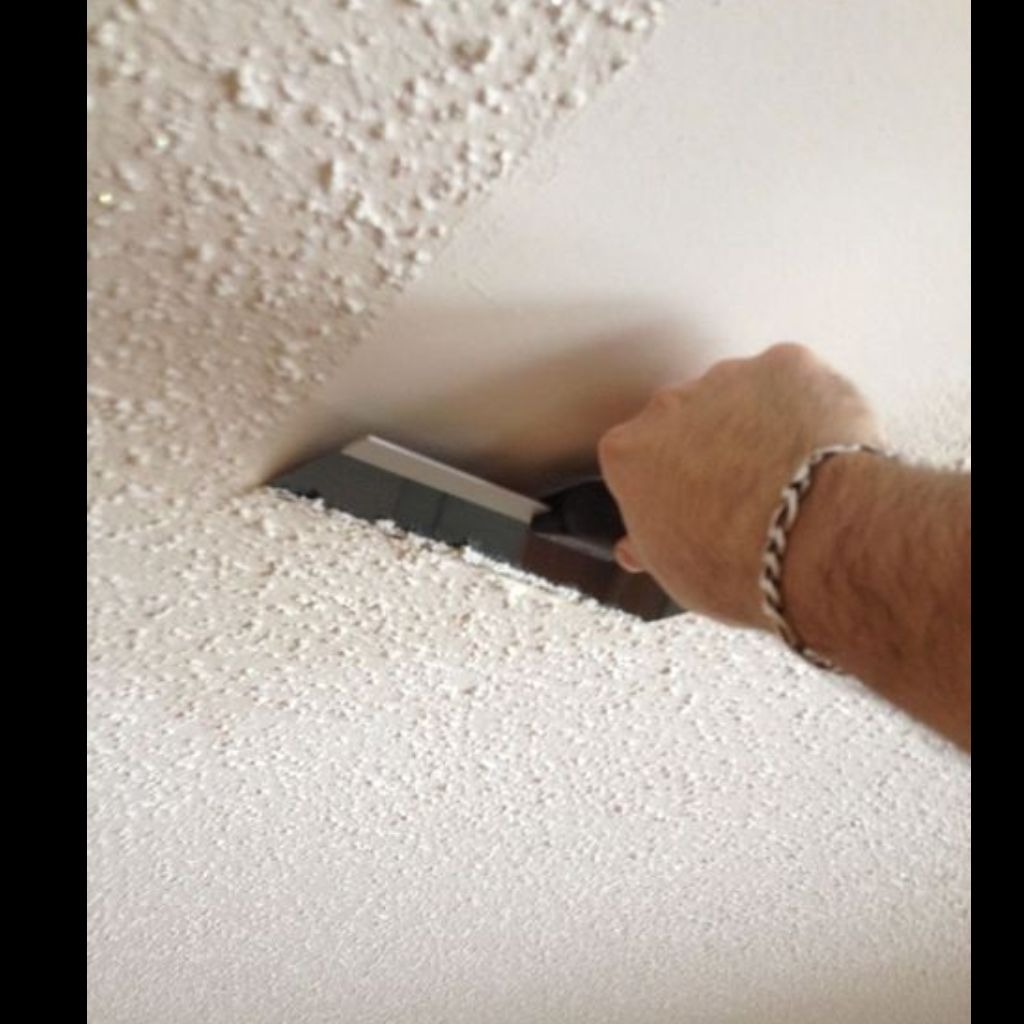
Before scraping, you might want to smooth and round the edges of your scraper to avoid damaging the Sheetrock. This isn’t a necessary step, but I found it helpful. A 10-inch scraper worked perfectly for me.
Get on your step stool and start scraping! Hold the scraper at a low angle, nearly parallel to the ceiling. This reduces the risk of gouges. Apply steady pressure, but if you meet resistance, moisten the area more. Water is your ally in this process. A paint roller dipped in warm water can also be used to dampen the popcorn ceiling.
Ensure all the scraped-off material stays on the tarps. Be warned – it can get messy and slippery. I wore croc-like shoes to prevent direct contact, and they’re easy to clean afterward.
Roll all tarps inwards to trap the major chunks and prevent them from falling out. We didn’t tape the seams well enough, which led to dust and chunks scattering. A bucket of warm water with a citrus cleaner works wonders on treated hardwood floors.
After cleaning, inspect the ceiling for repairs. We didn’t have many major repairs, but Spackle easily fills in any holes. Wait for it to dry, then sand it flat and apply primer/paint over it.
Apply fresh tarps before priming and painting. One or two coats of primer may be needed if you’re painting bare drywall or if you’re using a color other than white. I used two heavy coats of ceiling paint over the already applied primer.
Use silicone caulk to tidy up the edges where the ceiling meets the walls.
Dispose of all the tarps and check your work for any missed spots or touch-ups needed.
Clean the room thoroughly using a water bucket, mop, vacuum, and dust rag. If you’ve got plaster on your carpet,

